
![[External]](styles/exlink.gif)


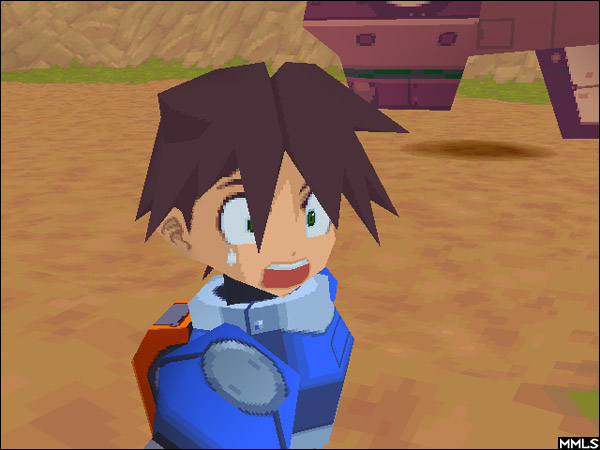
Rockman DASH 2 Episode 1
This Rockman DASH 2 demo came with Toron ni Kobun, but it wasn't actually a preview of the game to come, but an adventure all its own filled with awesome, unique contents. This once-rare piece of Legends/DASH gold was later included on Rockman DASH 2's PSP version, making it much more accessible to fans.
 |
 |
 |
 |
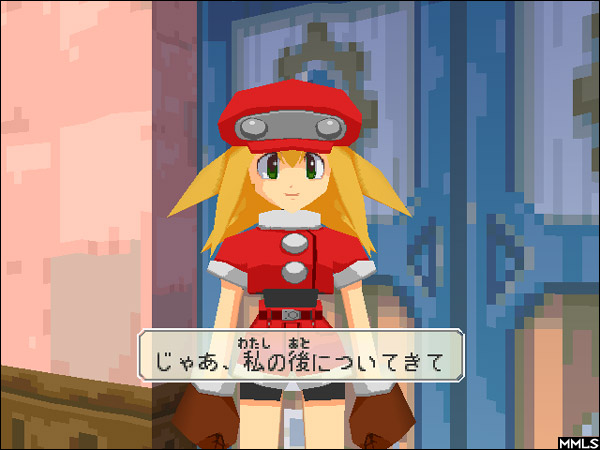
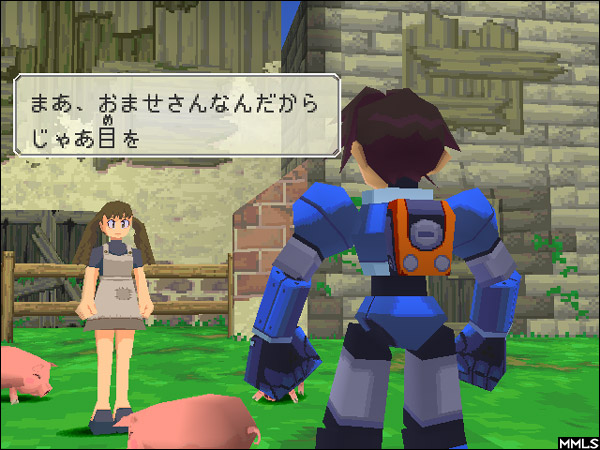
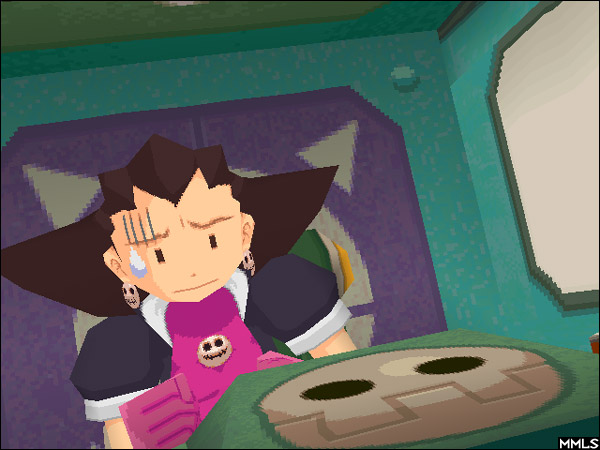
Roll's Secret Training
The first option on the menu will take you to this little game tutorial, where Roll in her usual way will instruct you on how to use the different functions of the game. It would seem like a waste of time, but it's actually quite cool because you get to do a bit of sightseeing!
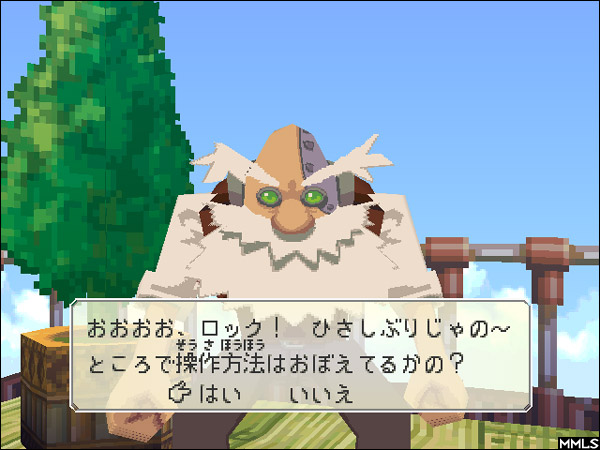
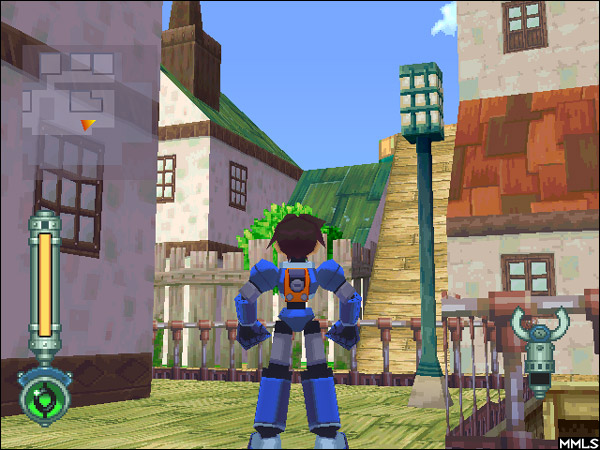
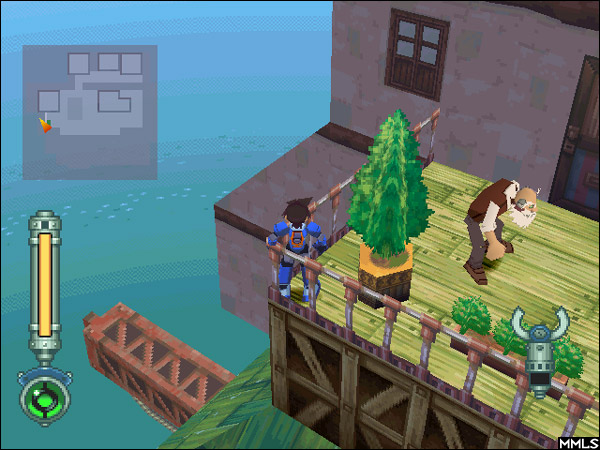
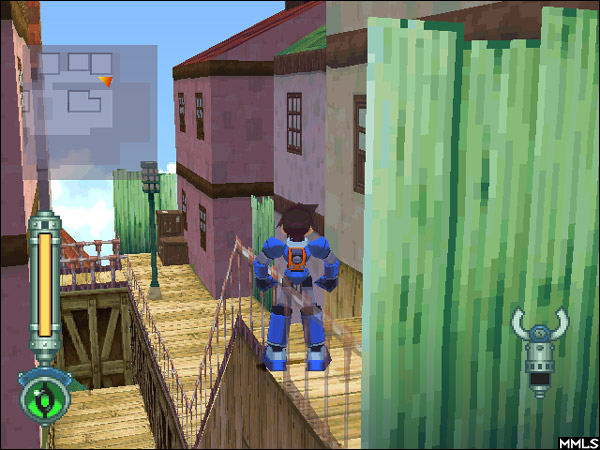
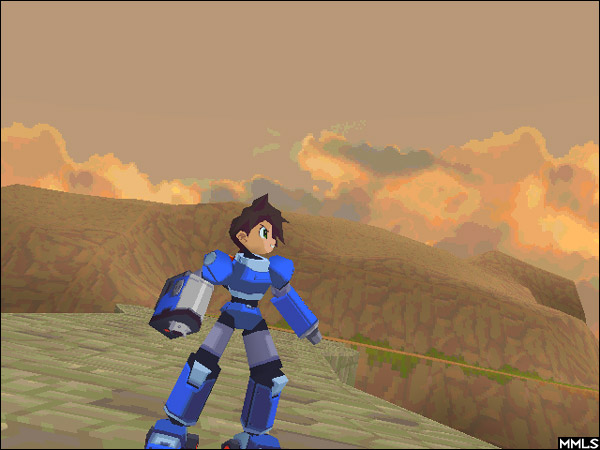
Trigger is on a tiny island with Roll and Gramps (still sporting his MML1 model). The place is quite colorful with houses all crammed together. It's quite interesting and seems to be in the middle of the ocean, elevated somewhat. It could be that this was an early design for Nino Island. The music here is that found at the end of Legends 2 while Teisel, Barrell, and Bluecher are sitting together.
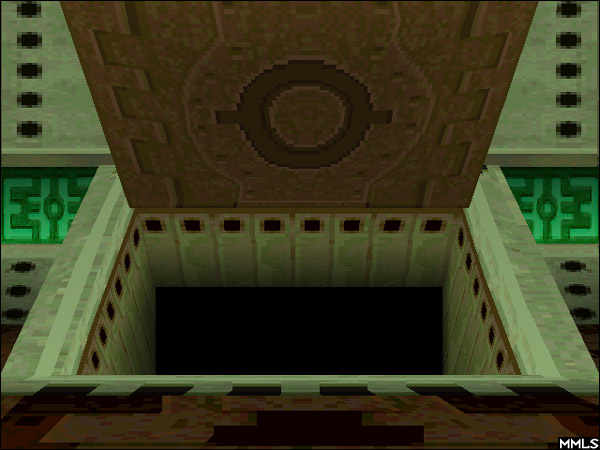
Unfortunately, once you're done looking around it does get rather boring. Through the door behind Roll lies a beginner's ruin, teaching you how to shoot, open doors, pick up Servbots, lock on to targets, etc. This portion of the demo comes to an end when you enter the hatch door (lower two screens). This style of door is used several times for the Underground Dungeon part, but didn't make it into the final game, presumably because you can't go back once you're through it.
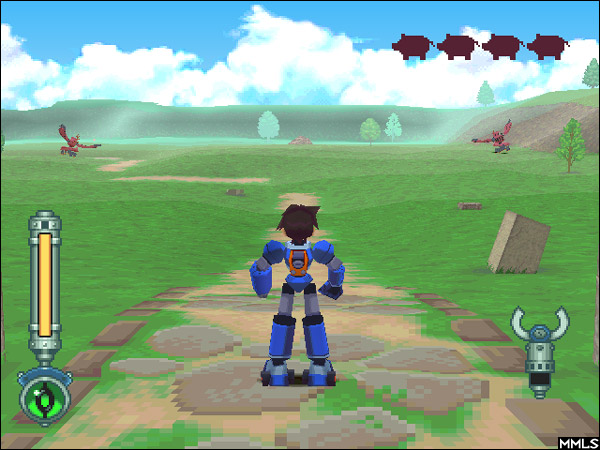
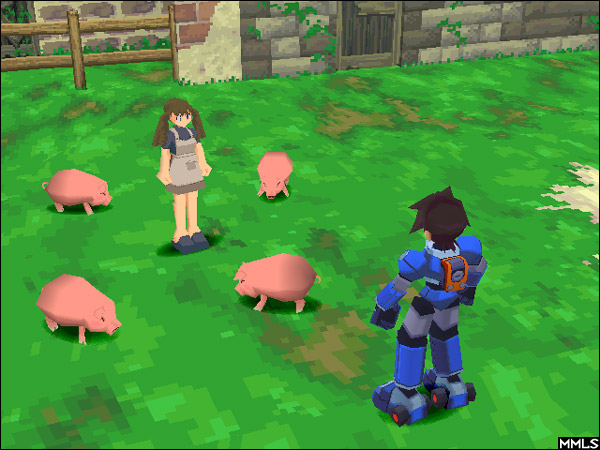
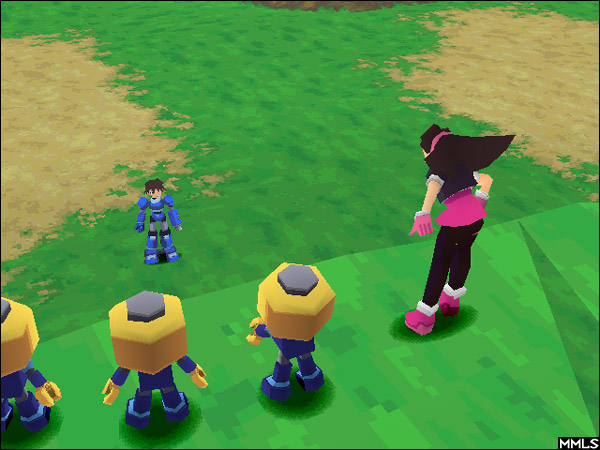
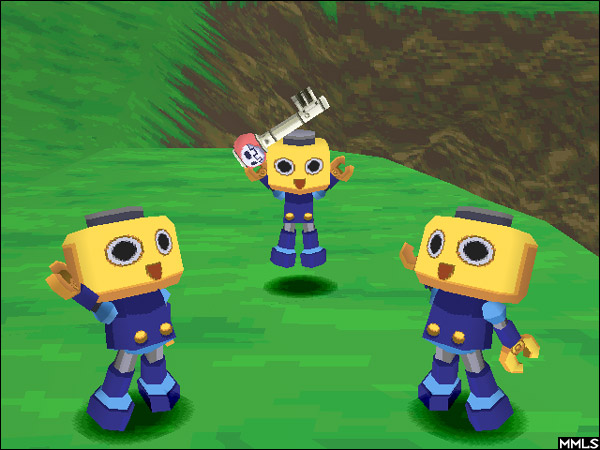
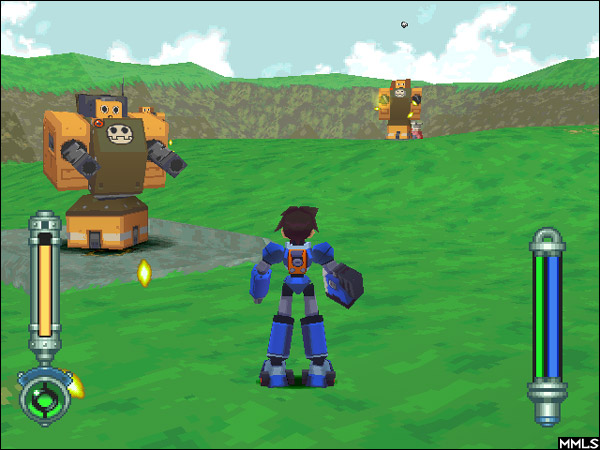
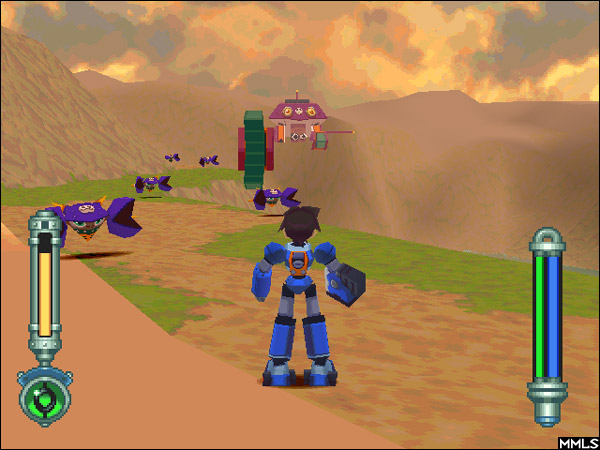
Capture Pigs
It's time to use that new claw arm! With nothing to indicate that Appo & Dah have been created yet, Shu is alone and wants you to round up her pigs. The music here is the music found at the end of Legends 2 while Teisel, Barrell, and Bleucher are sitting together.
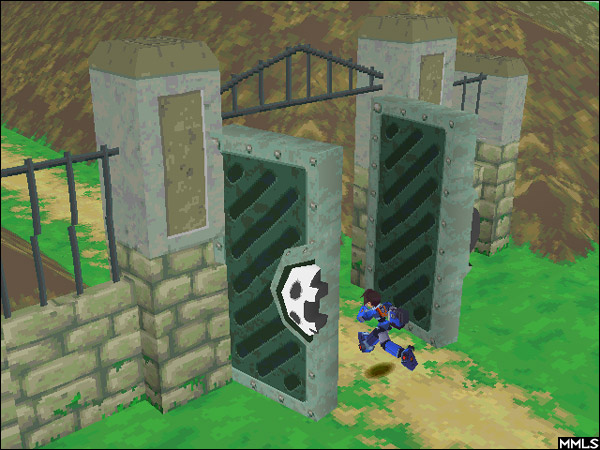
Once out searching Calbania for the four pigs, everything seems pretty much what we're used to, except there is no path leading to Glyde's base. Trigger is equipped with the Jet Skates and it's a good thing because those pigs are fast! As fun as it may be to race around after the fleeing bacon, caution is necessary as the reaverbots will pop up out of the ground in front of you without warning.
Once out searching Calbania for the four pigs, everything seems pretty much what we're used to, except there is no path leading to Glyde's base. Trigger is equipped with the Jet Skates and it's a good thing because those pigs are fast! As fun as it may be to race around after the fleeing bacon, caution is necessary as the reaverbots will pop up out of the ground in front of you without warning.
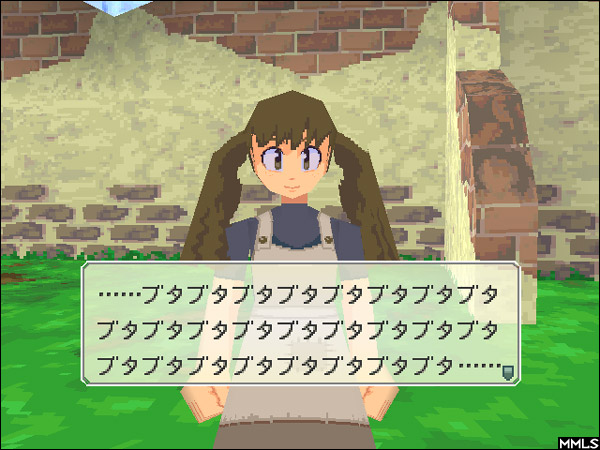
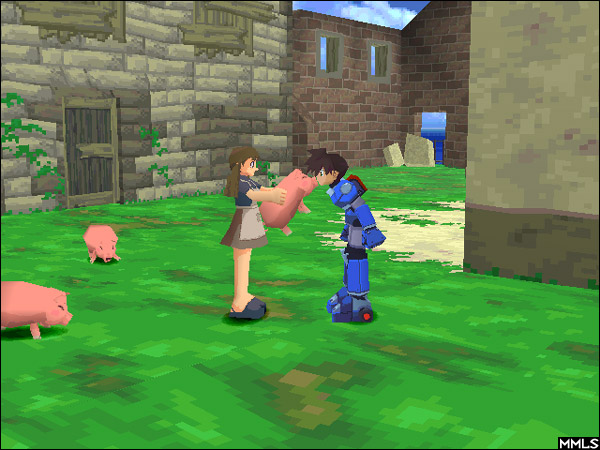
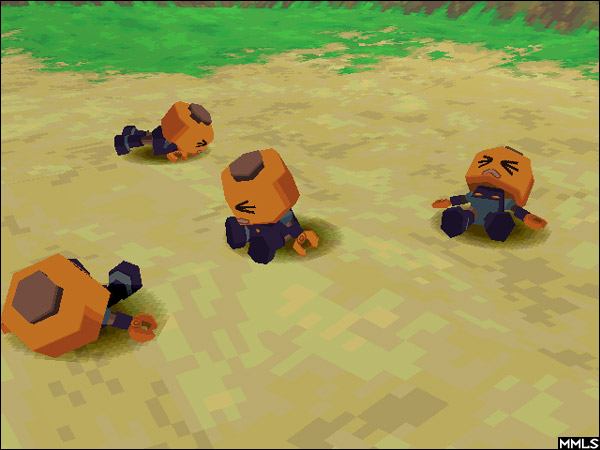
The most interesting point in this piece of the demo is the humorous end, after all four pigs have been recovered. Shu seems to offer a kiss as a reward. Trigger looks worried and the screen goes black. The sound of a kiss can be heard and afterward it shows a scene of Trigger kissing one of the pigs.
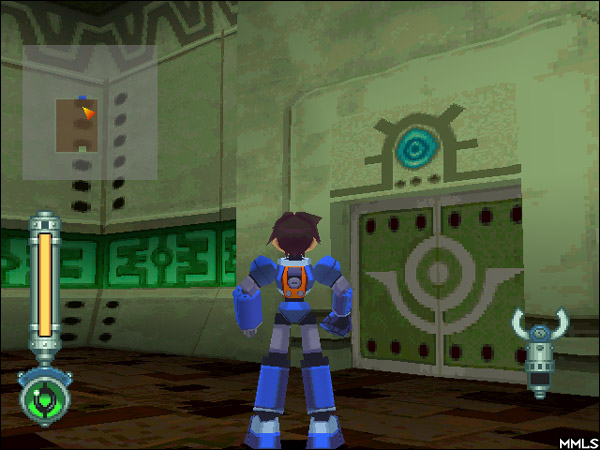
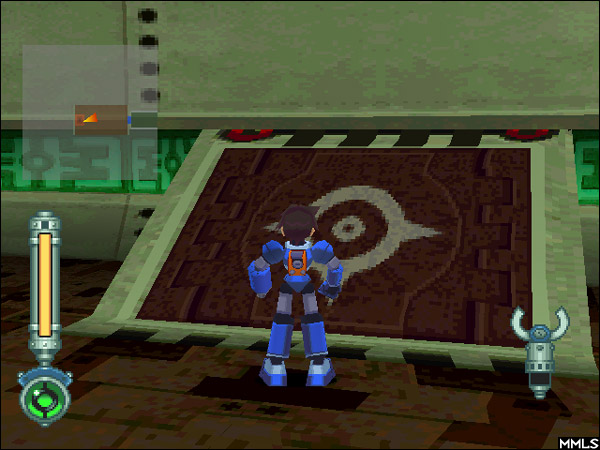
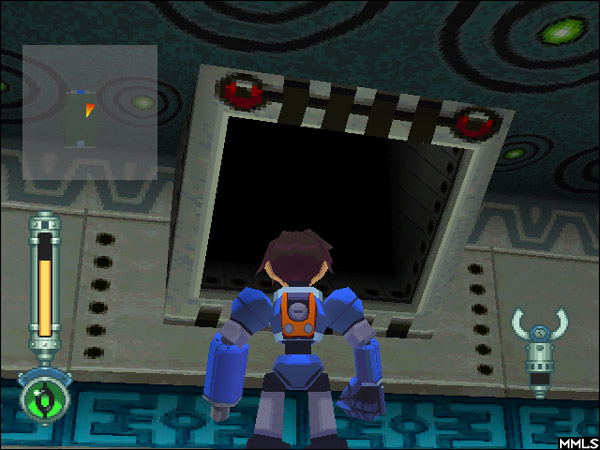
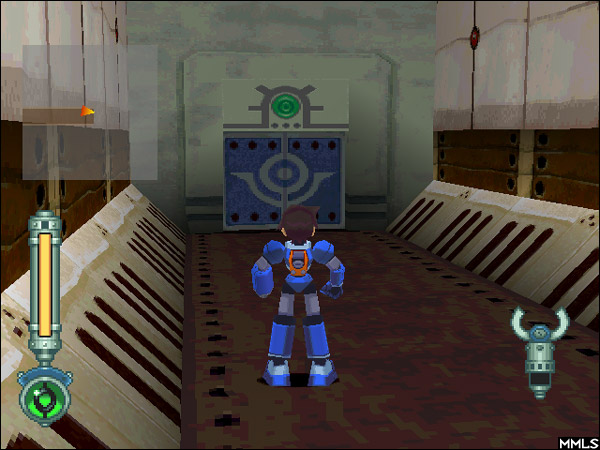
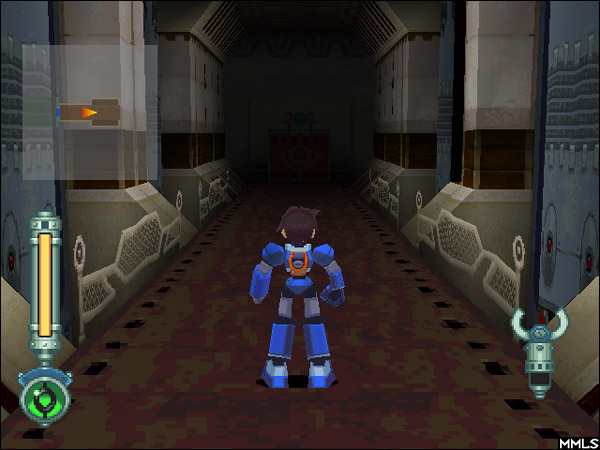
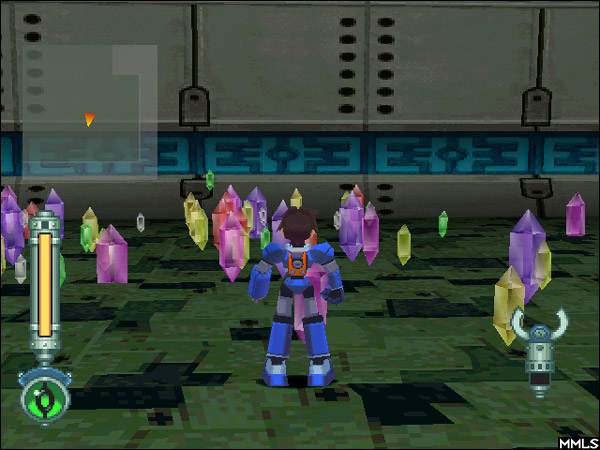
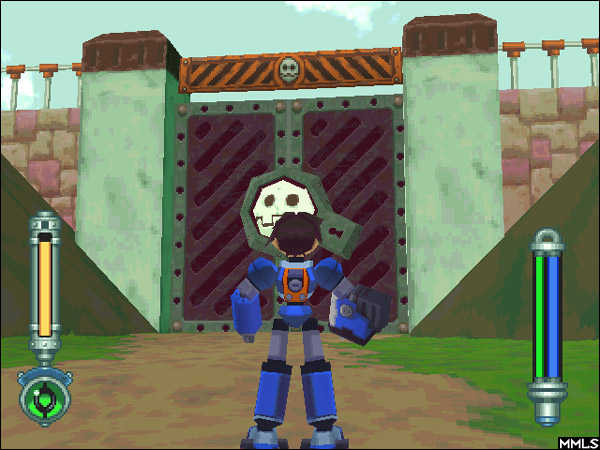
Underground Dungeon
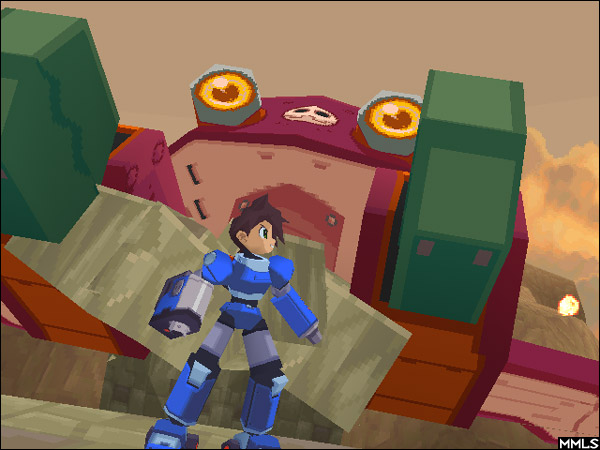
The third menu option will take you to some of those good old fashioned ruins that help give the series so much atmosphere. This particular place is pretty cool looking, much more elaborate than the ruins in MML1, but not quite up to par with the detail of MML2. Naturally this makes sense, taking into account when this demo was made.
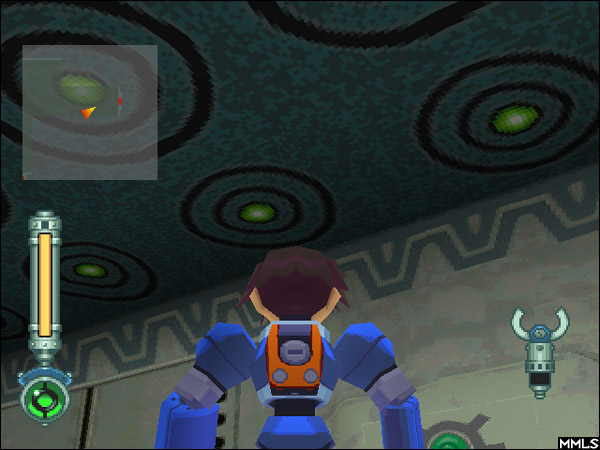
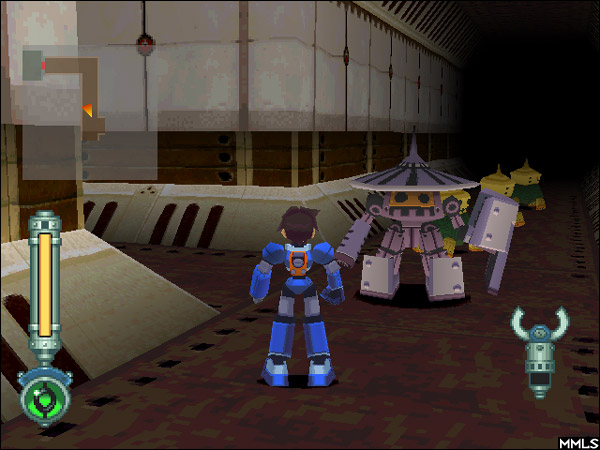
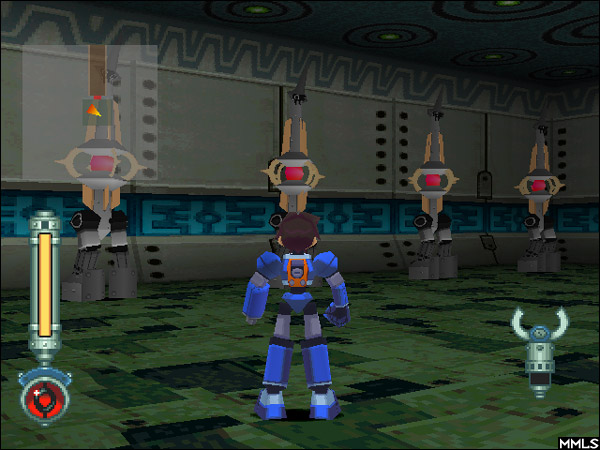
The layout is pretty simple, nothing too confusing. As one might expect there are reaverbots aplenty, some of them behaving quite strangely. One room in particular has four Fingerii that will either dance in place or walk together across the room, depending on your behavior.
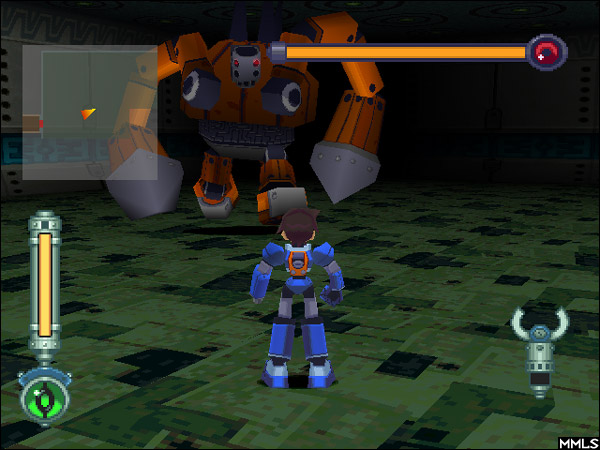
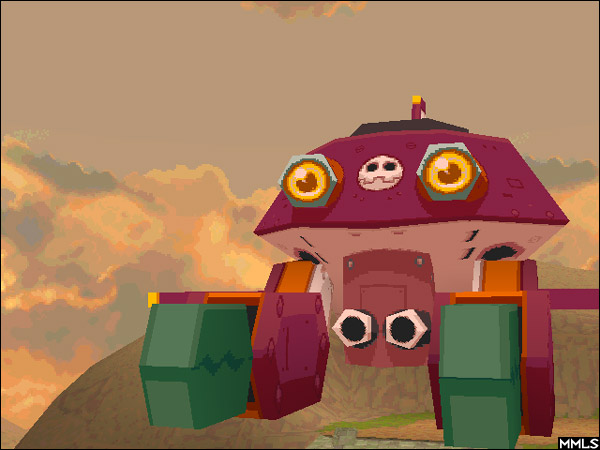
When suddenly the look of the place changes you can tell you're nearing the familiar boss. Blast his spikey butt and grab a ton load of Zenny. This completes this portion of the demo.
The music here is that found in the ruins in Kimotoma City on Saul Kada Island.
The music here is that found in the ruins in Kimotoma City on Saul Kada Island.
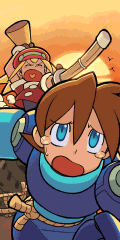
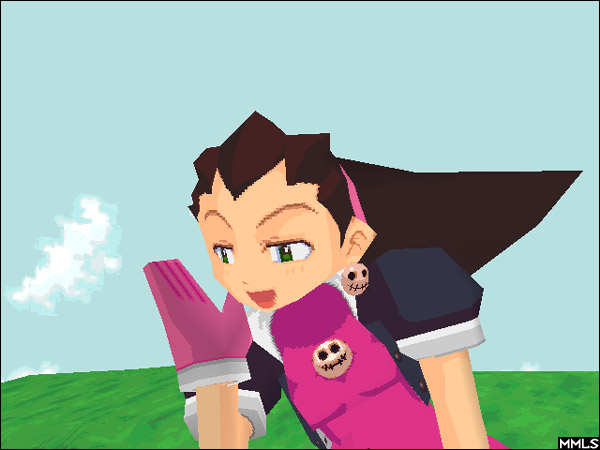
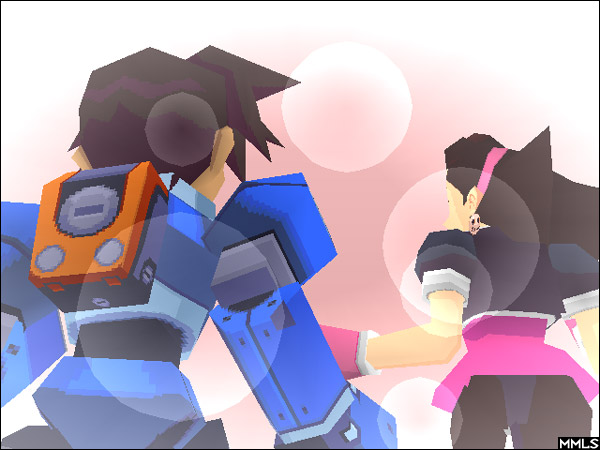
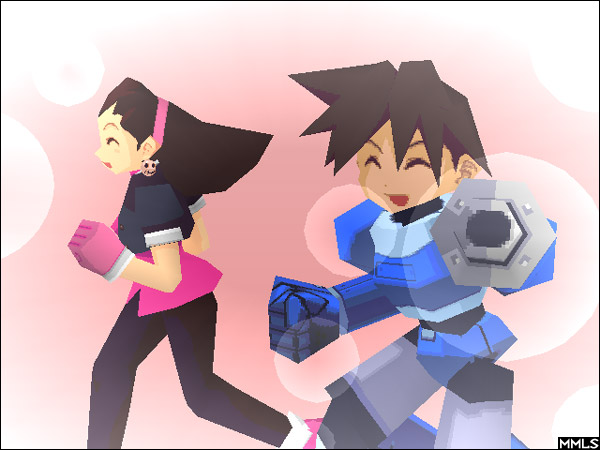
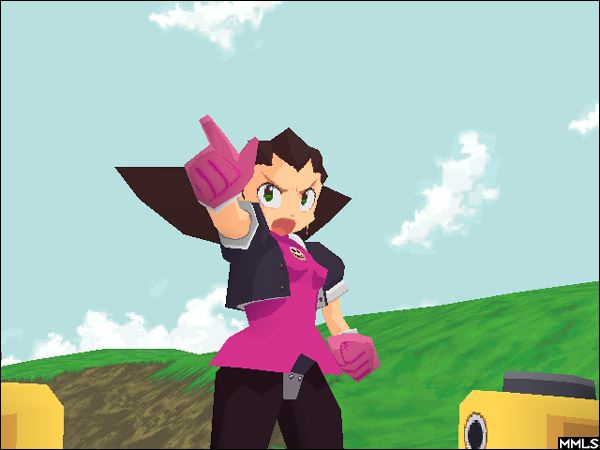
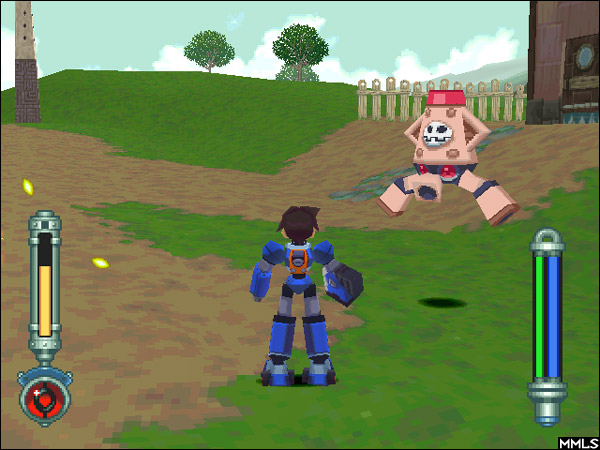
Yakuto Kurabe's Assault
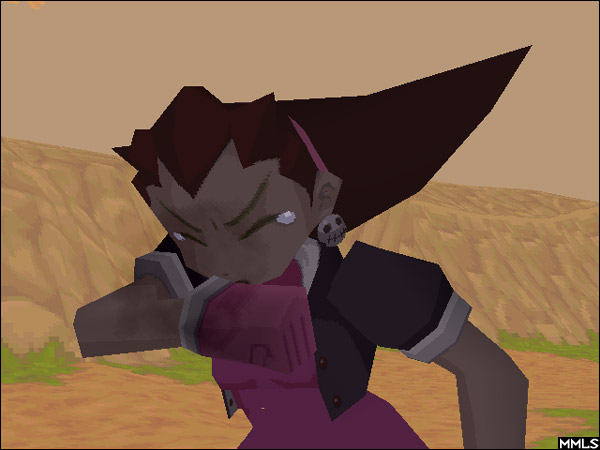
The final choice on the mission select is likely every Legends fan's favorite part, the battle against Tron and all of her Servbots in their multitude of attack vehicles! We have numerous screens from this piece of Legends awesomeness and translations of the narrative text (marked in bold), thanks to Delta Suicune.
"Roll-chan was kidnapped!"
---
"The culprit was Tron, from the air pirate family Bonne!"
---
"Demanding to Rock that if he wants her back, he must join their ranks!"
---
"Can Rock save Roll?!"
"Roll-chan was kidnapped!"
---
"The culprit was Tron, from the air pirate family Bonne!"
---
"Demanding to Rock that if he wants her back, he must join their ranks!"
---
"Can Rock save Roll?!"
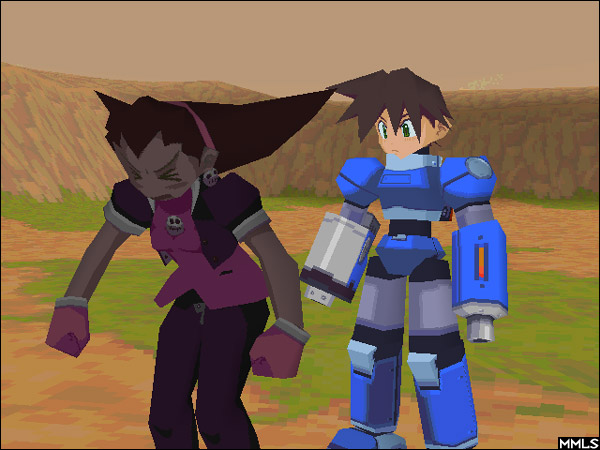
Tron puts the offer to Rock, who looks less than thrilled. The game then given two options...
"-Why not give it a try..."
"-No way!"
"-Why not give it a try..."
"-No way!"
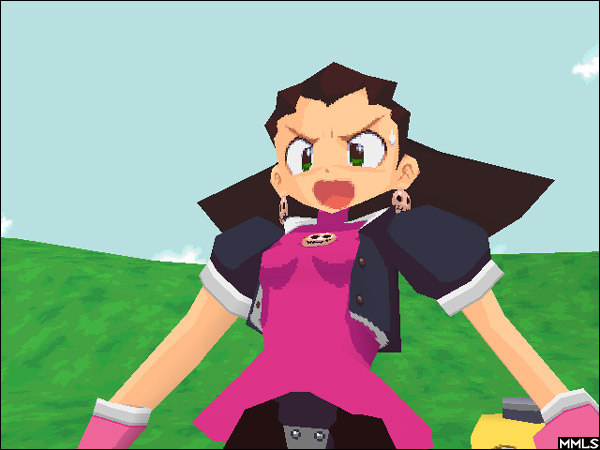
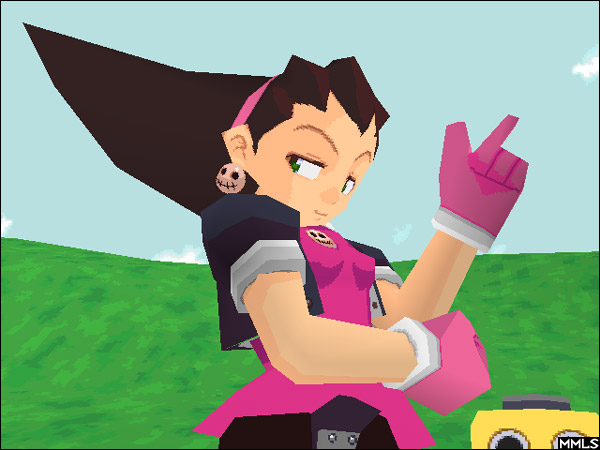
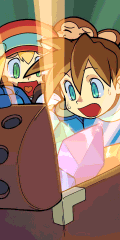
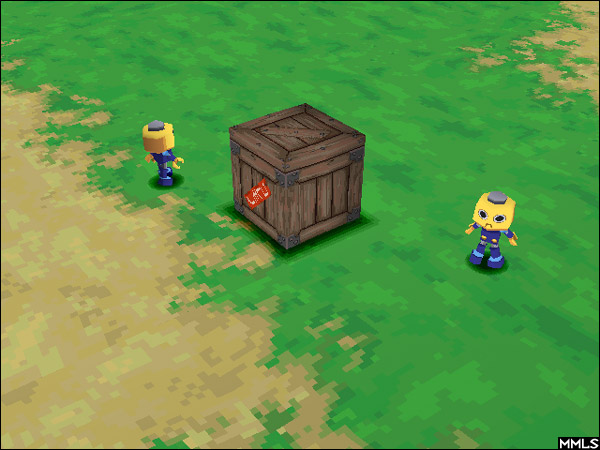
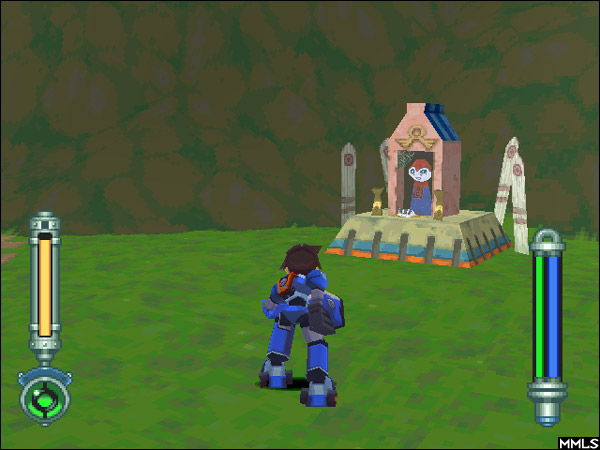
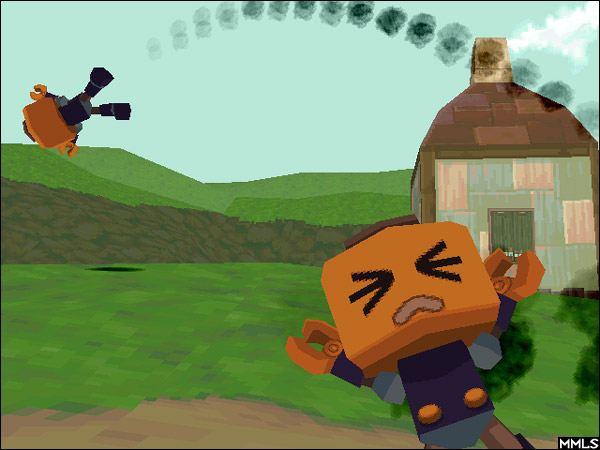
If Rock agrees, a cut scene starts with Tron and Rock prancing happily along. Rock begins firing his buster and there are screams all around. Then the game automatically chooses the "No Way!" option. Tron reacts in a shocked manner. She gives the Kobun some instructions and they are happy to protect the keys. Roll-chan is shown as trapped in a crate.

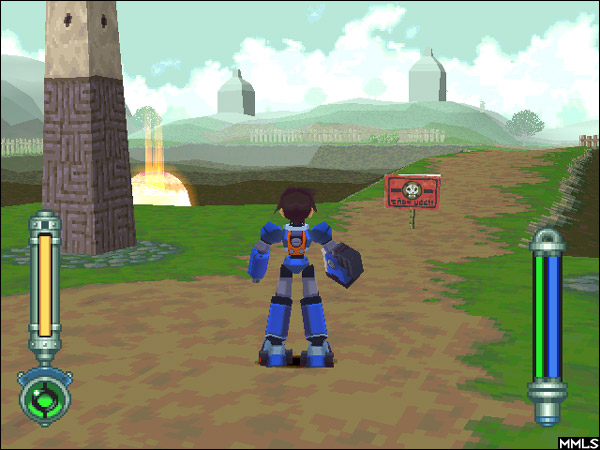
"Roll is being held beyond this village, up the mountain path, on the plateau."
---
"Steal the keys from the underlings and get ahead!
If you don't save Roll quickly things could get ugly!"
---
"Steal the keys from the underlings and get ahead!
If you don't save Roll quickly things could get ugly!"
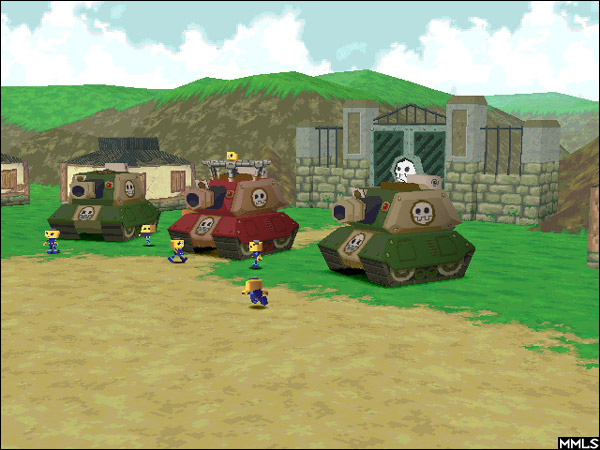
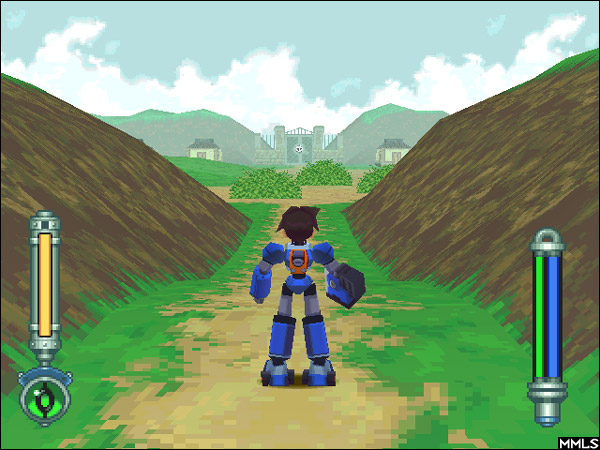
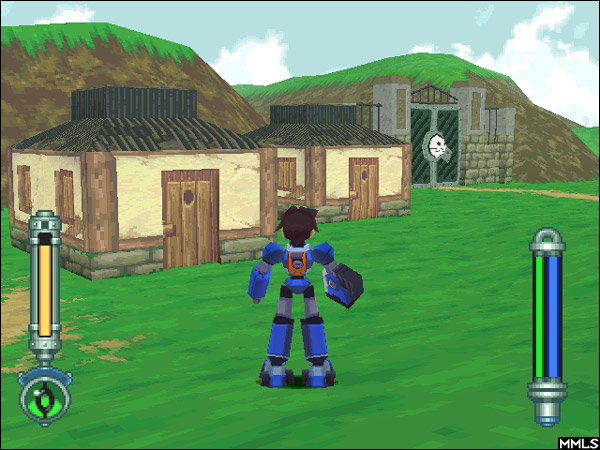
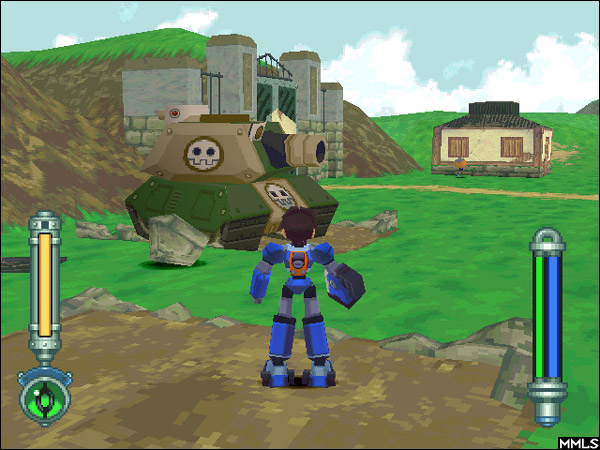
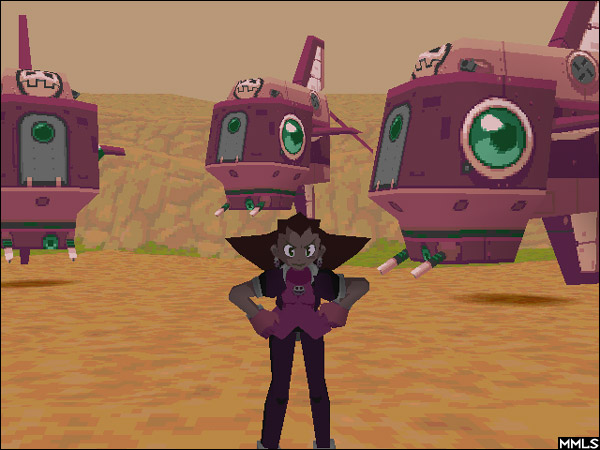
The area shown in this portion of the demo may have been an early idea for Manda Island's Pokte Village, judging from the looks of the place and by the fact that Tron is fought here with a crab robot. Tanks and other means of blocking Rock's path are all over, even hidden within houses! Fortunately Rock is well equipped with strong weapons and comes through, obtaining the key and passing through the gate.
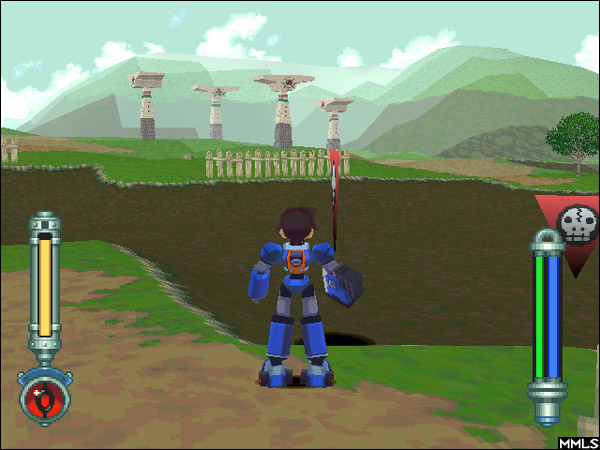
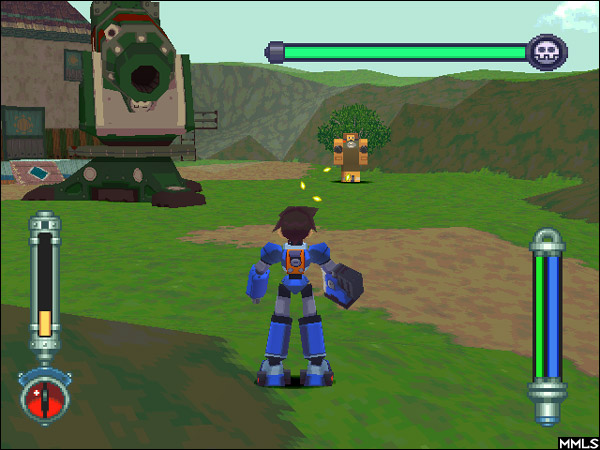
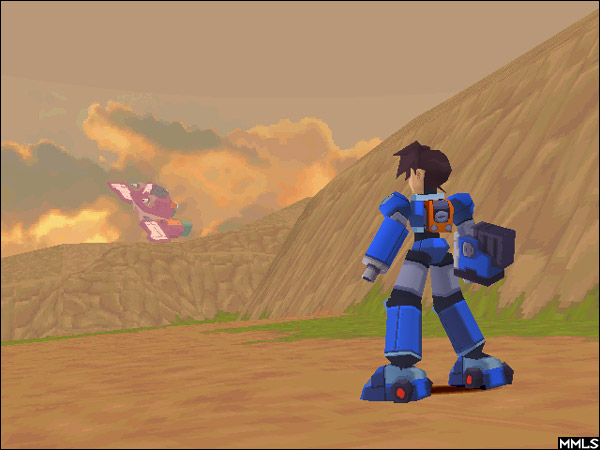
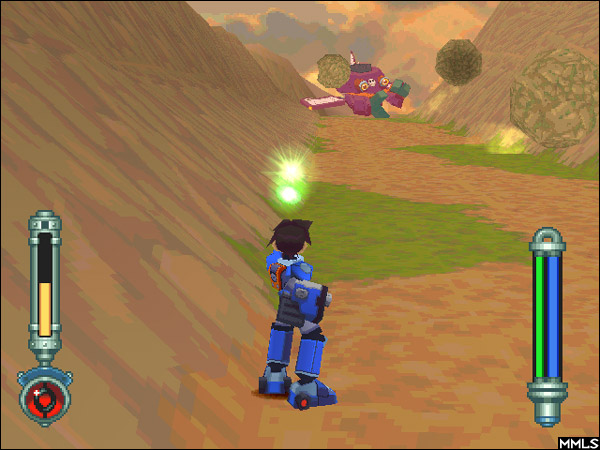
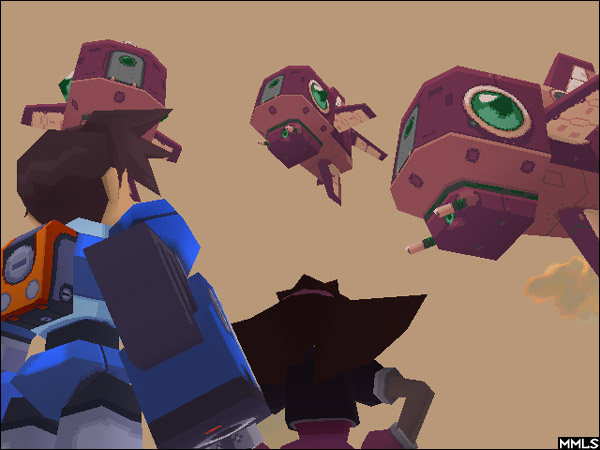
Round 2 begins in the next area, which is like a war zone. Draches fill the sky, mines are set in certain areas, and a giant cannon keeps locking on to Rock's position and firing bombs from afar!
Round 2 begins in the next area, which is like a war zone. Draches fill the sky, mines are set in certain areas, and a giant cannon keeps locking on to Rock's position and firing bombs from afar!
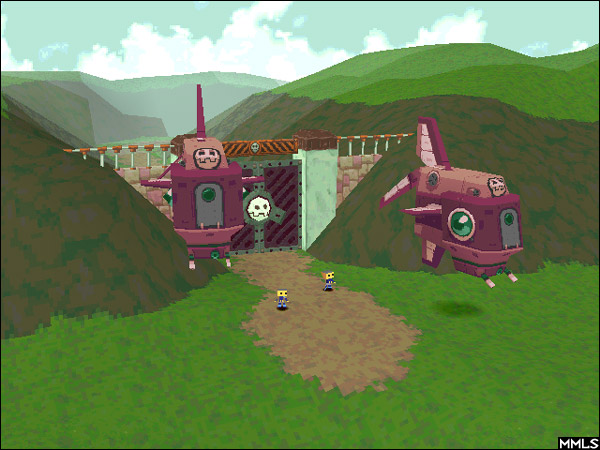
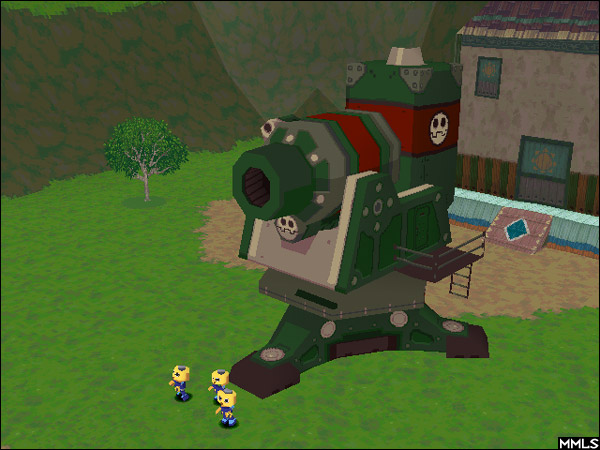
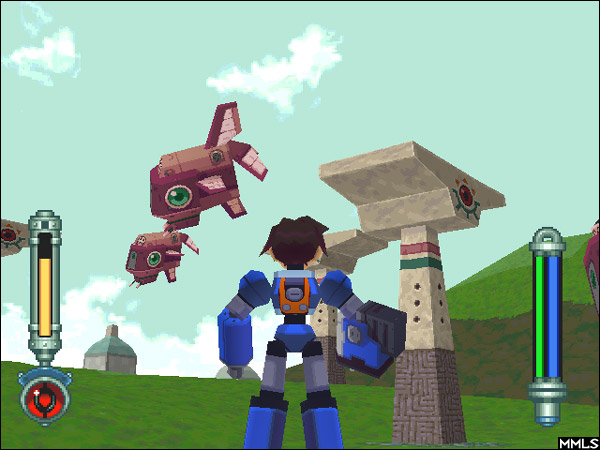

No matter how many you shoot down, the Draches keep coming in unlimited numbers, and there are also robots that try to spray you with deadly gas. The village can be easily flattened in this battle.
Past the village center is little shrine and beyond that, the cannon. It has its own energy bar but is easy enough to defeat. Victory naturally gains Rock another key that unlocks the next gate.
Past the village center is little shrine and beyond that, the cannon. It has its own energy bar but is easy enough to defeat. Victory naturally gains Rock another key that unlocks the next gate.
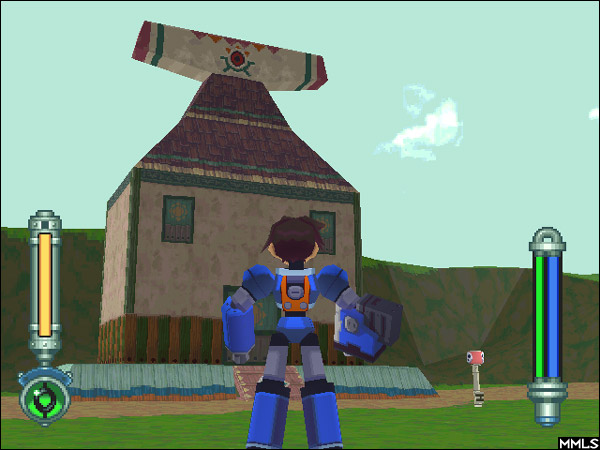
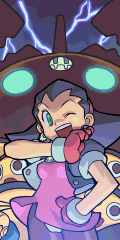
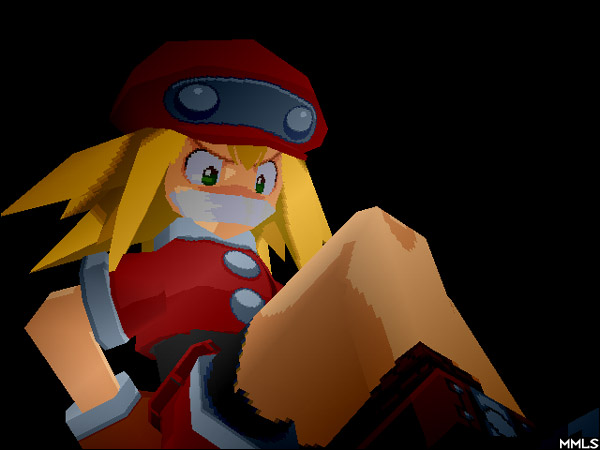
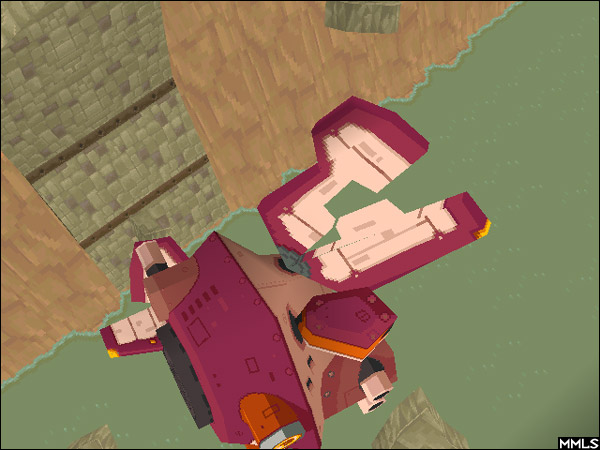
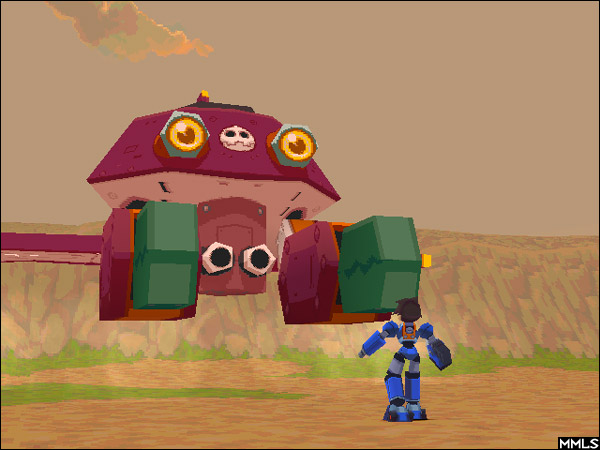
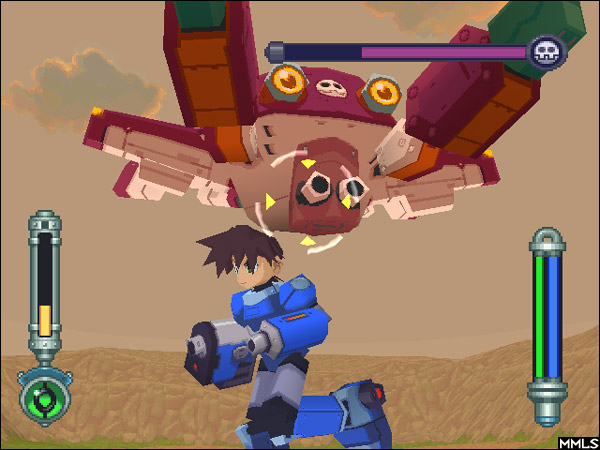
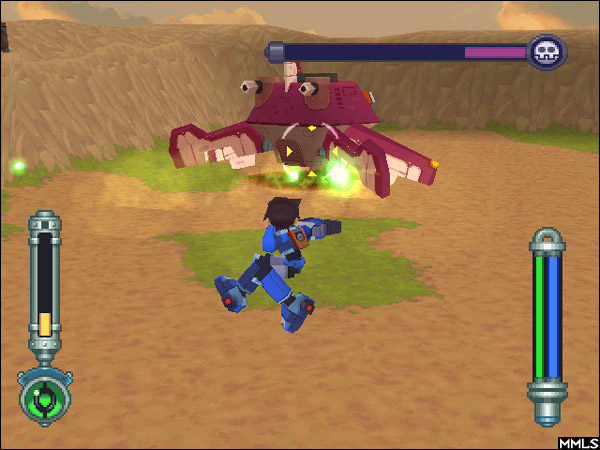
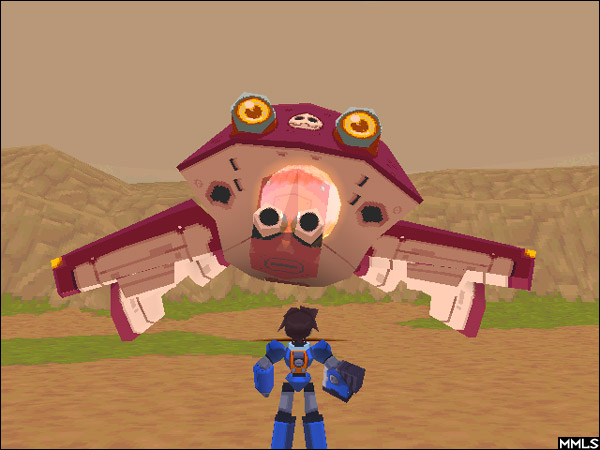
After receiving word from her defeated Kobun, Tron decides to intervene. Bringing in her crab robot, it's time for a real battle! As Rock passes over a stone bridge, Tron breaks through it from below, right behind him. She fires massive crab claws directly at Rock while explosive robots impede his path, and follows it up by hurling giant boulders at him. Once Rock makes it through all the turmoil, Tron crashes her robot down onto another bridge in front of him, blocking the way.


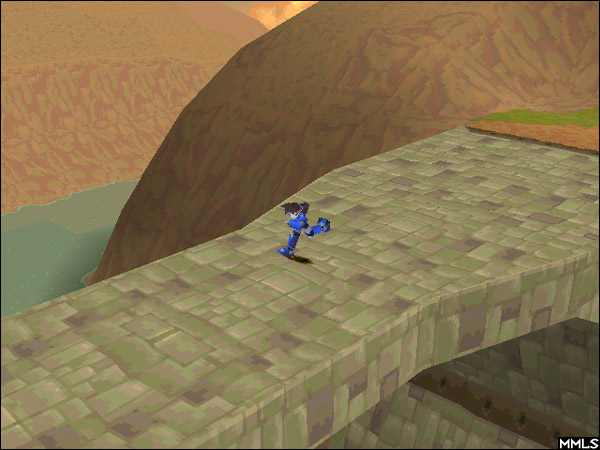
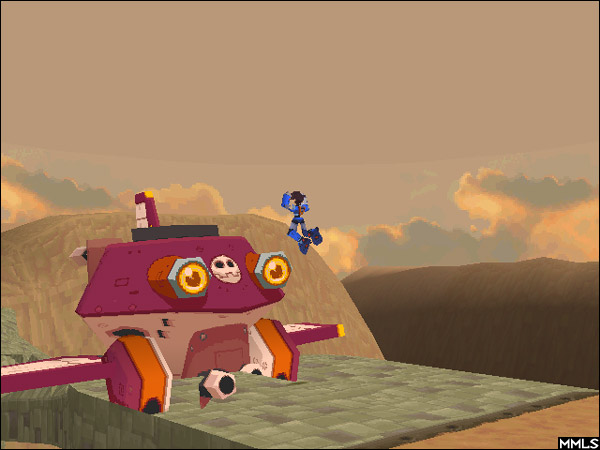
Without a moment's hesitation, Rock just keeps on going, jumping over the robot with a leap that would put Mario to shame. Tron's robot crashes through the bridge and falls to the water. At last Rock has reached the crate, but Tron is not out that easily.


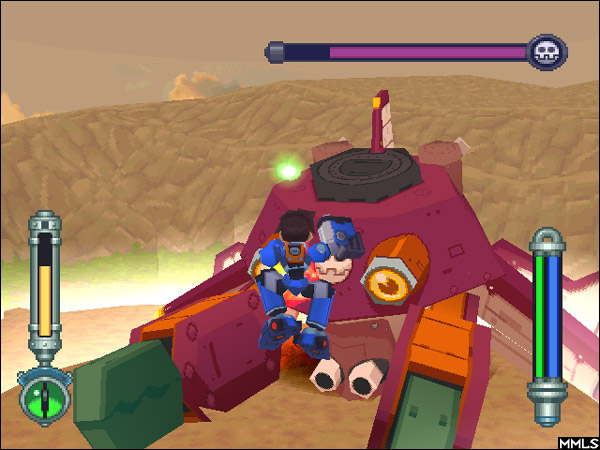
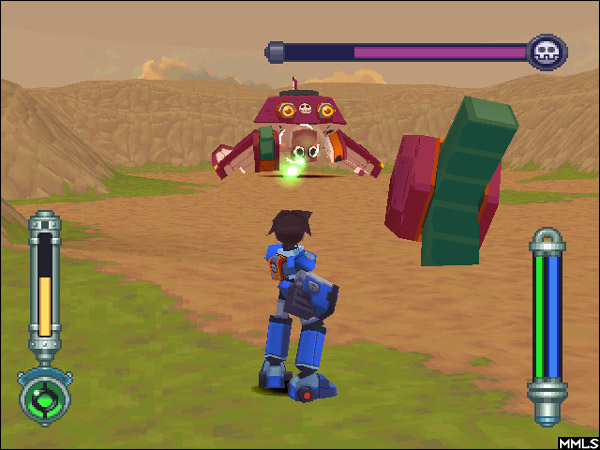
The battle that unfolds is similar to the one in the final version of the game, although Tron does have a few different attacks. Eventually Rock wins and Tron is toasted in the usual style. After a few words with Rock three Draches descend to take her away.
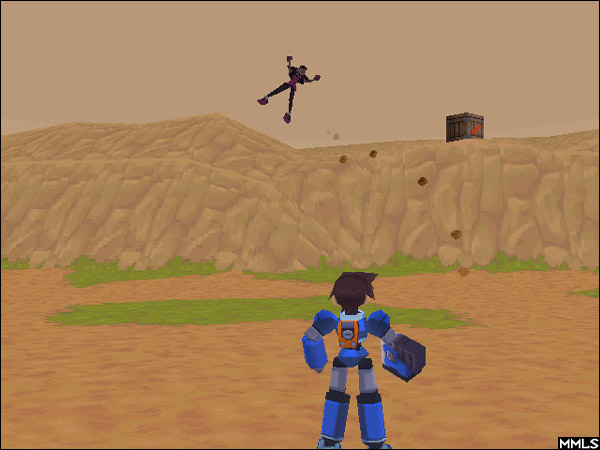

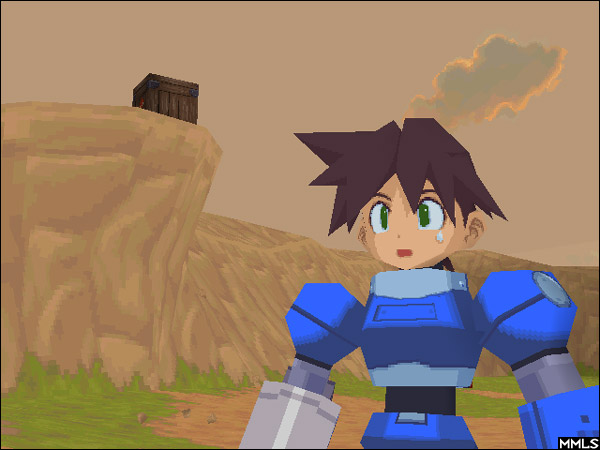
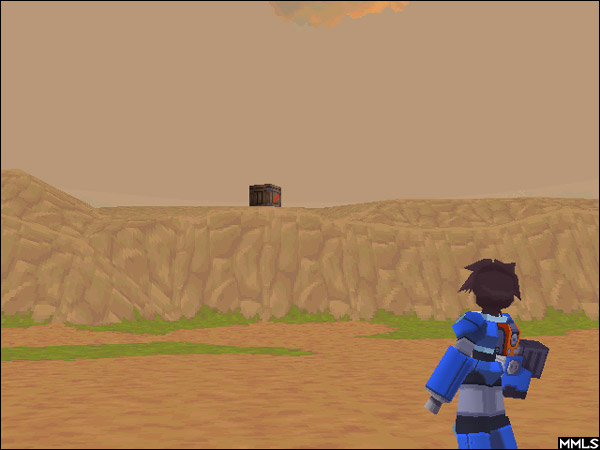
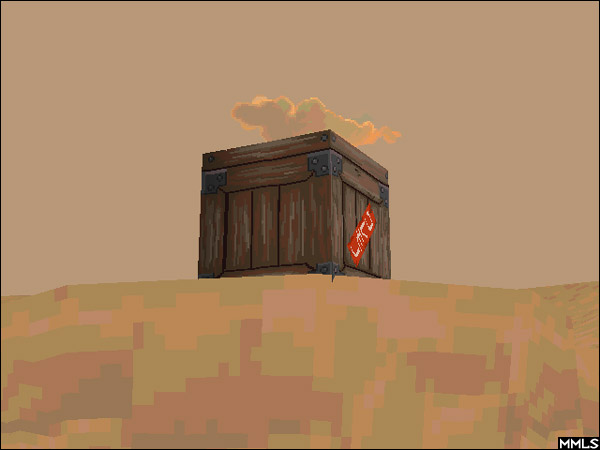
Just as Tron is making her getaway, the edge of the cliff upon which the crate is resting suddenly breaks and comes crashing down. Rock rushes to it and stares in disbelief as he finds the crate is empty. A passing Kobun mentions that Roll was already saved by Data.

"Don't give up Rock! Keep trying Rock!
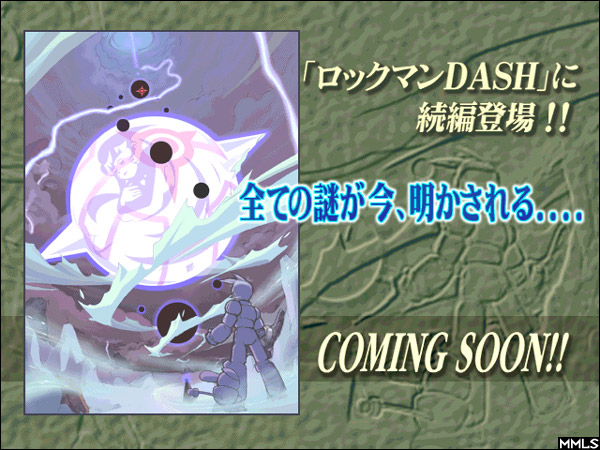
'Rockman Dash 2 Episode 2' Episode of The Great Legacy
Currently working my life away selflessly to finish, please wait a while until completion."
'Rockman Dash 2 Episode 2' Episode of The Great Legacy
Currently working my life away selflessly to finish, please wait a while until completion."